Save on pet insurance for your pet
You don't have to choose between your pet and your wallet when it comes to expensive vet visits. Prepare ahead of time for unexpected vet bills by finding the pawfect pet insurance.
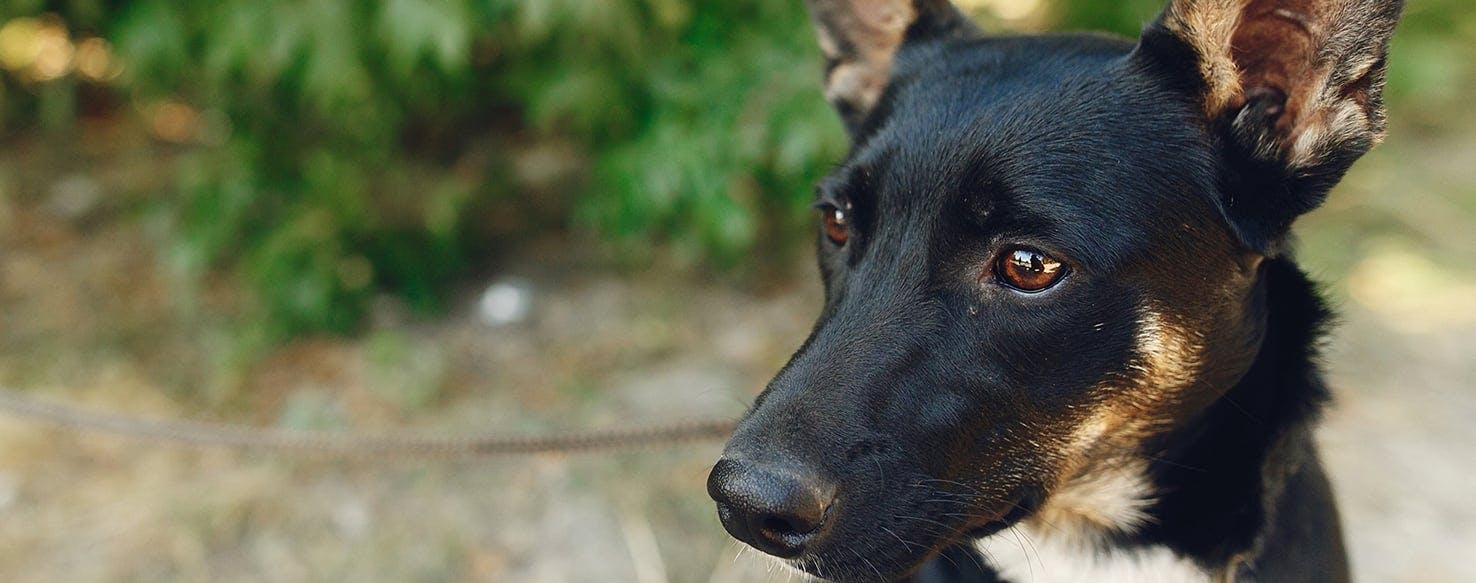
Dogs come in many shapes and sizes, and so do their ears. Avoid infection and other potential problems by checking your dog's ears regularly and cleaning them when necessary. While the importance of clean ears is pretty straightforward, the method for cleaning them is not. We'll look at the safest way to ensure that your furry companion's ears stay healthy and infection-free.
Some breeds have more ear problems than others. It's essential, no matter what breed you own, that you know the right way to care for them. Water-loving dogs, such as Labrador Retrievers, Newfoundland Dogs, Boykin Spaniels, Golden Retrievers, and Chesapeake Bay Retrievers may be more inclined to have ear infections from spending so much time in the water. Other dogs with long and floppy ears, like Basset Hounds and Beagles, can have problems as well because the ears cannot air out easily if they get damp or dirty. Some breeds never need to have an ear cleaning – the body maintains a healthy ear on its own.
How do I clean my dog's ears?
If your dog is prone to dirty ears, have your vet give you a demonstration of how to safely do the job. Try to check your dog’s ears on a weekly basis and have the proper equipment on hand for a thorough, yet gentle cleaning:
- Cotton balls or gauze squares
- Vet-approved cleaning solution
- Towels
- A favorite treat
It is essential to have an ear cleaner on hand that has been recommended by the vet. Some pet parents will use hydrogen peroxide but if your dog has an inflamed ear canal or scratches on the skin inside the ear, the peroxide can burn and sting. Vet-approved products have antifungal and antibacterial properties that enable a pain-free cleaning.
Make your dog comfortable and ensure they are relaxed. Take the ear flap and hold it up and away from the head. This allows you to see the ear canal. Put the solution in the ear, filling the canal. With the ear flap still held up, massage the base of the ear for thirty seconds and then wipe away dirt and the liquid with the gauze by gently moving your gauze covered finger into the canal. If your dog wants to shake their head, let them do so. If there is more dirt loosened within the ear, wipe it again. Give your best buddy a treat and move to the other ear.
What not to do when cleaning your dog's ears
- Do not use harsh solutions, only vet-approved cleaners
- Never insert a Q-Tip into the ear
- Do not force your dog to cooperate because there may be infection present
- The applicator of the cleaning solution should not touch your dog's ear
- Cleaning the ears too often can dry them out
What if my dog has an ear infection?
Many dogs absolutely love to have their ears scratched and rubbed from the outside. They will lean in to allow you to give a good rub. If you touch your furry buddy's ears and they yelp or pull away, it could be a sign of infection. If you notice redness, swelling, a foul smell, a lot of dirt, or discomfort, then your dog most likely has an ear infection or a problem like ear mites. Call and make an appointment immediately to take them to the vet to get it treated.
Now that you know this preventative skill, you can be active in your dog’s ear health. With your veterinarian’s guidance, you can help prevent ear infection by removing bacterial build-up. As always, if you have a concern about your dog's ears, do not hesitate to take him to your vet.
You may also like
